Shark robot do a great job by precisely cleaning the trapped dust and allergens. You can connect this excellent little robot to WiFi using your mobile phone or tablet, to control and monitor it. If you connect your Shark robot to WiFi, you can set up the cleaning schedules, receive updates and even give voice commands. Fantastic, isn’t it?
Now, the question comes, how to connect shark robot to WiFi?
You can use your Android or iOS devices to connect this little robot to WiFi. In this guide, I’ll explore all of the 2 methods and give detailed instructions. Therefore, let’s not delay anymore and get started!
How to Connect Shark Robot to WiFi?
Here you go with the 2 easy methods with simple step-by-step instructions. Let’s go –
Method 1: Connect Through Android Devices
Step 1: Get Ready for Your Shark Robot
Make sure that your small robot is switched on and has a stable WiFi signal. Also, connect your Android to the same WiFi that you want to link with the Shark robot.
Step 2: Download The “SharkClean” App
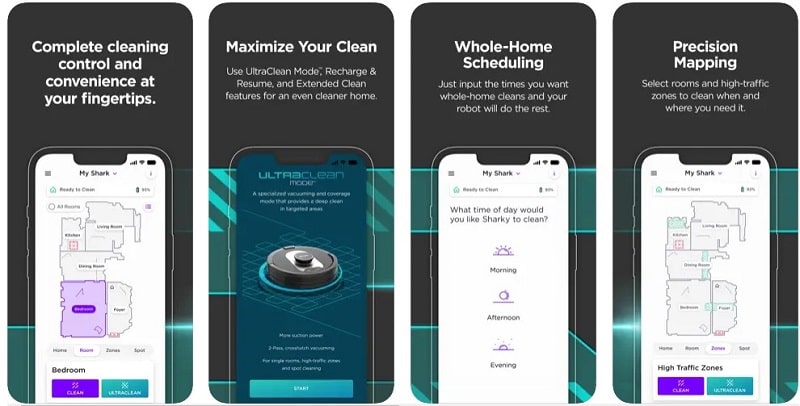
Go to your Google Play Store and download the app “SharkClean“. Install and launch it. Next, create an account or log in to the app using the required information.
Step 3: Pair The Shark Robot
Now, tap on the “+” sign which means add a new device and then it’ll show you a list. Select your robot model from the list. Next, follow the on-screen instructions to pair your Shark robot.
Step 4: Connect The Robot to WiFi
Once you pair the robot with the app, return to the app and you’ll see prompts to connect the Shark robot to WiFi. Then, choose your WiFi and enter the password.
Step 5: Establish The Connection
Wait for a while after entering the password and on the screen, a success will appear. Once succeed, the WiFi color on the robot turns solid blue. Then, you can easily customize the features of the robot.
Method 2: Connect Through iOS Devices
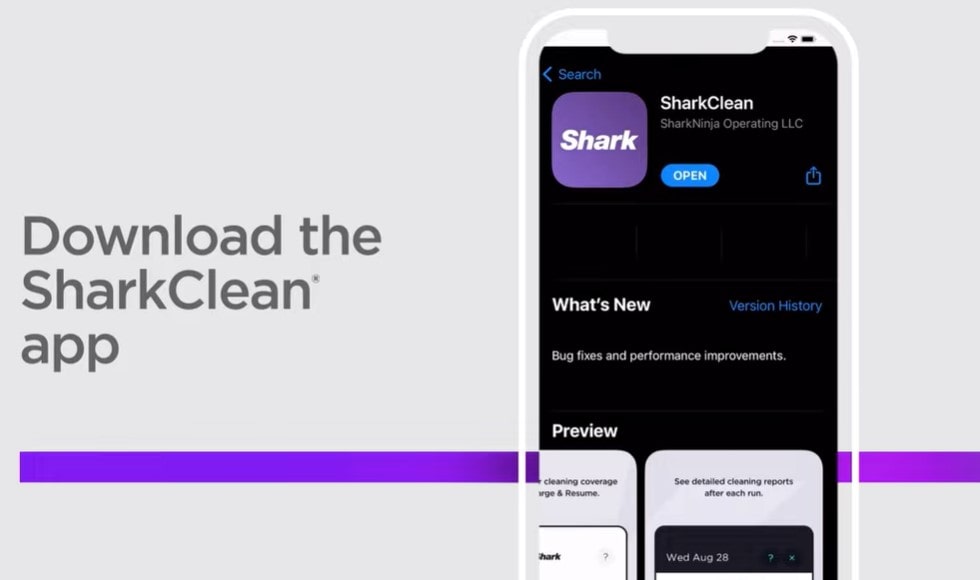
Step 1: Download & Install The “SharkClean” App
From your Apple Store, download and install the “SharkClean” app and launch it. Then, create an account using your email or login.
Step 2: Prepare Your Robot
Now, make sure that your robot is powered on and pretty close to the WiFi signal range. Also, connect the iOS Device to the WiFi with the same network you want to link your Shark robot.
Step 3: Activate Your Robot
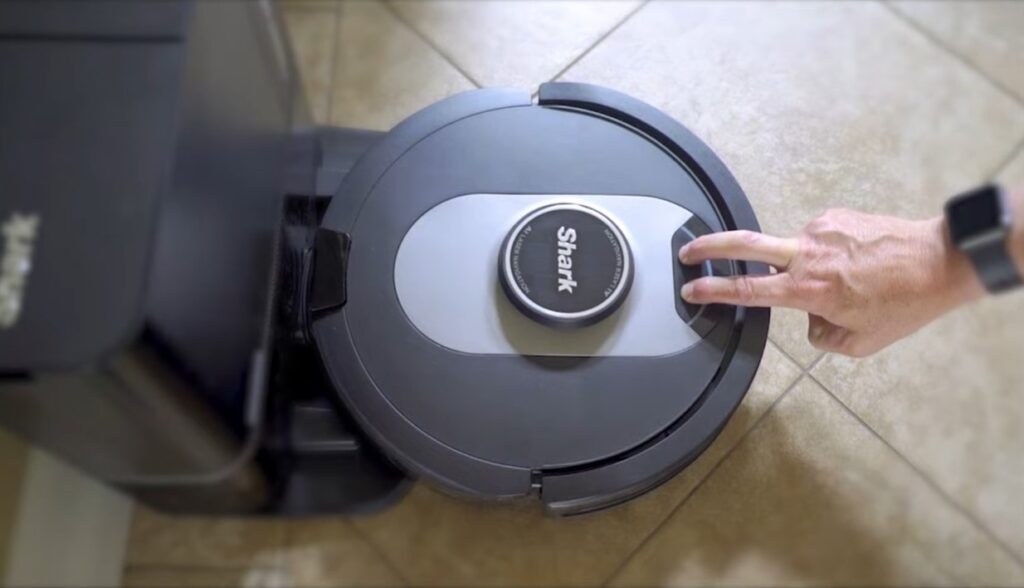
Now, hold the “Dock and Clean” or “Dock and MAX” buttons for 5-15 seconds until the WiFi indicator blinks.
Step 4: Find Your Robot
Now, go to the WiFi settings in your iOS Device and choose your Shark Robot from the dropdown list. Again come back to the SharkClean app.
Step 5: Select The WiFi Network
Now, select your WiFi and enter the password. If you have multiple WiFi networks, select a network with 2.4 GHz for better access to the robot.
Step 6: Final Stage
It’ll take a while to connect to the Robot with WiFi. Once they connect, a success message will pop up and the robot’s WiFi icon will turn into solid blue.
Conclusion
So, that’s all for today. If you follow the given instructions, trust me you can easily connect your Shark robot to WiFi within no time. Then, enjoy your convenience by using the smart and stylish Shark robot!
However, if you’re interested in connecting PS5 to hotel wifi then check the linked guide.
Read popular post:
- 8 Proven Ways to Cool Down Your Router for Lightning-Fast Internet: Beat the Heat
- How Does Weather Impact Your Wi-Fi Signal Strength? – Unmasking the Mysteries
- How to Connect Wyze Cam to WiFi? 2 Easy Methods
- How to Connect Phone to TV Using Bluetooth Without WiFi?
- The Best WiFi Router for Spectrum Internet 2023-2024
- How To Reset Arris Wireless Router – 2 Methods
- How to Connect Traeger to WiFi? 2 Mthods to Try!
- How to Create Mesh Network With Two Routers? – 12 Steps for 2023