Do you want to connect wyze cam to WiFi? Wyze Cam is one of the most famous and reliable home security cameras. However, sometimes the instructions given in the manual aren’t clear, so connecting it to WiFi is a common problem.
Therefore, how to connect wyze cam to WiFi?
You can use different methods like using the Wyze app or WPS setup. In today’s article, I’ll show you all these methods with easy and simple correct methods for ensuring a seamless connection. So, let’s get started.
What is Wyze Cam?
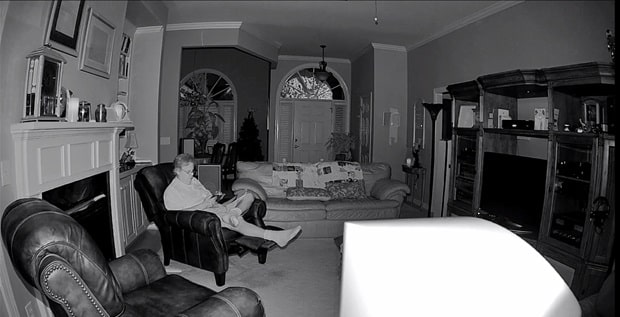
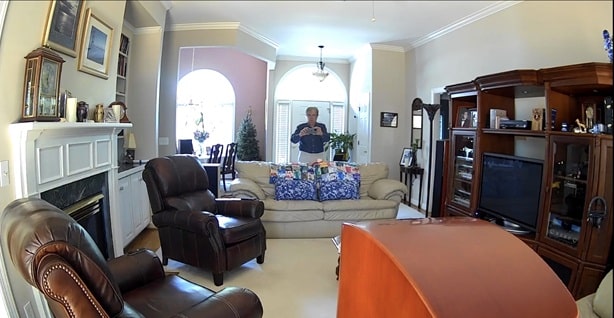
Coming from a Seattle-based company, Wyze Cam is a brand of low-cost smart home security cameras. This camera features excellent features like high-quality 1080p or even 4K videos, motion detectors to trigger alerts and record activities, built-in two-way audios to communicate through cameras, night visions with Infrared LEDs and operating through mobile phone facilities! One of the most affordable and reliable options in the market.
How to Connect Wyze Cam to WiFi?
I’ll discuss two different methods with easy steps and instructions, and all you have to do is follow the steps. Here we go-
Method 1: Using the Wyze App
The most commonly used and effective method is this one.
Step 1: Download and install the Wyze App
On your device(iOS or Android) go to the App Store and search for the Wyze App. Start downloading the app and install it.
Step 2: Log In or Create a Wyze Account
Open the installed app and if you already have a Wyze account, log in using the information. If you don’t have an account, then create one by giving your Email and password. Follow the on-screen procedures to finish signing up.
Step 3: Add the Wyze Cam
Now, in the app, you’ll see a “+” icon on the top left corner. Tap on that icon and add a new device. You’ll see a list of available devices, then select “Wyze Cam” from the given list
Step 4: Plug in the Wyze Cam
With a secured power source and using the given power adapter and USB cable, plug in the Wyze Cam. Wait until the cam boots up and if it succeeds you’ll see a flashing yellow light.
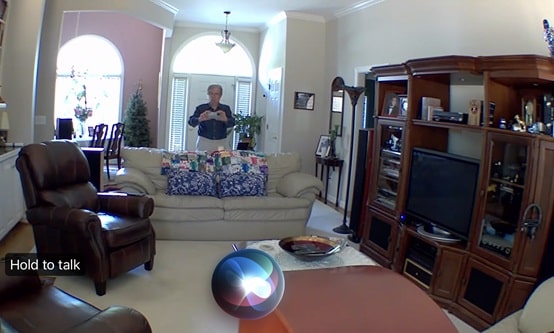
Step 5: Give it Wifi Connection
Now the app will show instructions to connect your Wyze Cam to WiFi. As shown on the screen, enter your WiFi network name and password. Make sure that your cam is close to the Wi-Fi signal to set up the process.
Step 6: Sync the Camera
At this point, the app will show you the QR code. Hold the QR code in front of the camera until you hear a notification sound. This process will finally sync your cam with your account from the app. Therefore, you’re done!
Method 2: WPS(Wi-Fi Protected Setup) System
This method is when you’ve no access to the mobile app. Let’s see the instructions-
Step 1: Prepare the Wyze Cam
Plug your Wyze Cam and wait until it flashes a yellow light. Then, it’s powered on.
Step 2: Find Out the WPS Button
On your WiFi router locate the WPS button that can be on the front or back of the router.
Step 3: Activate WPS Mode On
After you locate the WPS button, press and hold it for a few seconds. It’ll enter WPS pairing mode then.
Step 4: Connect the Cam
Now on your Wyze Cam, press the setup button for a few seconds and you’ll hear a voice prompt, “Ready to connect.”
Step 5: Wait for Connection
At this stage, your cam will try to connect to your WiFi network. It’ll take a few minutes. However, make sure your camera is close to the WiFi signal.
Step 6: Connection Successful
After the successful connection, you’ll hear a voice prompt, “Setup completed” and you’ll be done!
Wyze V3 vs. Blink Mini: A Comprehensive Comparison

The picture series places the Wyze camera first and the Blink Mini second in all shots. The initial image showcases both cameras on my wall mount, followed by a daytime image quality comparison. I am positioned 20 feet away from the cameras. Subsequent enlargements are created by zooming in on these images using an iPhone 12 Pro Max and taking a screen capture of each. Wyze emerges as the winner with its sharper images.
The final aspect examined is the night vision capability, where Wyze significantly outperforms the Blink Mini. After all, what’s the use of a security camera if it can’t capture clear images in case of a break-in?
Now, let’s delve into the pros and cons of each camera. First, the Amazon-owned Blink Mini provides solid long-term product support, benefiting from its association with a reputable brand with ample resources. This is in stark contrast to my previous experience with cheap Chinese MIPC-based cameras, which left much to be desired.
Secondly, I prefer not to store my images in the cloud; instead, I opt for local, discreet storage. The Blink system offers this option through a Bluetooth-enabled USB sync module, which can be inconspicuously placed in an outlet or cabinet, ensuring more security compared to Wyze’s micro SD cards that could be easily tampered with.
Lastly, a minor drawback of the Wyze V3 is the pigtail. While it’s designed for weather-tightness, a co-injection molded sealed connector at the camera body could be a more user-friendly solution. Ideally, all security cameras should have flat, round, and standardized interfaces to facilitate easy mounting and wire concealment, which can be achieved using products like the Legrand Cordmate C10 white wire channel.
In conclusion, while neither camera is perfect, the Wyze V3 takes the lead in the most crucial aspect: image quality.
If you’re interested also read on how to connect traeger to wifi
Bottom Line
I hope now you’ve got a clear idea about connecting the wyze camera to WiFi. By following the given instructions you can enjoy the benefits of remote operating your Wyze Cam. Also, remember that while connected, keep the cam closer to the router. In addition, in one WiFi network, you can set up multiple cams! Have peace of mind now!