Blink is the best brand for homeowners for smart home security cameras and doorbells. If you have gotten a new blink camera and are wondering how it works. Let me tell you, using Blink cameras is quite easy and simple. However, to get the full potential of the blink camera, you must connect it to your WiFi.
Now, the question is, how to connect blink mini camera to WiFi?
Worry not, mate! We got you covered. All you will need is a mobile device, a 2.4GHz WiFi connection, and the Blink app. I’ll cover the method step by step, so you can remotely watch over your property. Let’s get started!
How to Connect Blink Camera to WiFi?
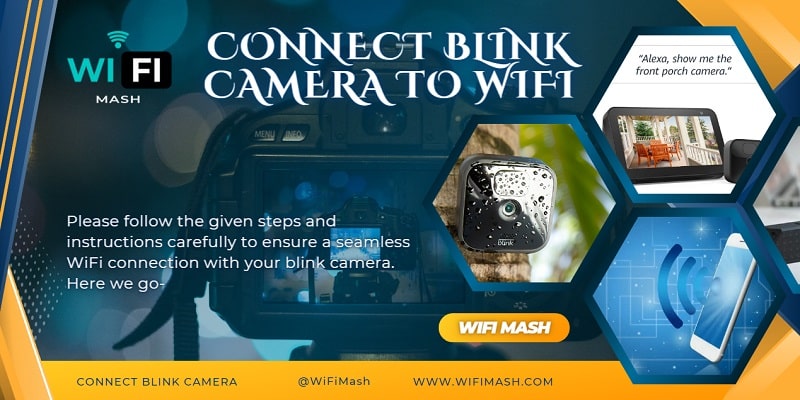
Please follow the given steps and instructions carefully to ensure a seamless WiFi connection with your blink camera. Here we go-
Step 1: Get Your Blink Camera
Try to get the popular models of Blink cameras such as Blink XT2, Blink Mini, and indoor or outdoor cameras. Unbox the camera package and inside you’ll find your camera, USB cable, mounting hardware, adapter and a manual.
Before making the connection make sure your camera is fully charged using the adapter. Also, make sure the batteries came along with the package, and install those in your cameras.
Step 2: Download The Blink App
The “Blink Home Monitor” app is available on both iOS and Android devices. Search for the app, download and install it.
Step 3: Create A Profile
After installing the app on your phone, time to set up a new account for you. Provide your Email address and set a password. With the required on-screen process, please complete the registration process.
Step 4: Add Devices
Now, go to the home of the app and at the top right corner, you’ll see a “+” icon or “Add Device” option. Click that option and it’ll show you the list of available devices.
Step 5: Scan The QR Code
At this point, you’ll need to scan the QR code at the back of the camera and enter the device number in the required place manually. Then, give your sweetheart a name!
Step 6: Wait for The Camera to Power Up
Now, plug your blink camera into the power outlet and wait for the lights to appear. When the camera’s light is blinking blue, it indicates that the camera is ready to set up.
Step 7: Discover Device
On the app, find “Discover Device” and click on it. Then, select your WiFi network and enter the password. Click “Done” and your camera will be successfully connected to the WiFi.
Step 8: Sync Time
Once your camera is successfully connected to the WiFi, it’ll automatically sync with the Blink App. Then, you’ll receive a QR Code and hold it in front of your phone camera. When the camera LED turns steady green, it means a successful sync.
Step 9: Microphone Permission
Then, a “Get to Know Your Camera” page will show up and you have to give the microphone access permission. The speaker has two-way communication which is fascinating! Tap on “Grant Microphone Permission”
Step 10: Mount It on The Best Place
Now, that your camera is successfully connected to the WiFi, try to find the best location for surveillance. Then, mount it using all the provided hardware. Make sure your camera has a full clear view of the area you want to watch over.
Final Words
As you can see, connecting your Blink camera to WiFi is quite easy and hassle-free. Also, you can connect multiple Blink cameras to a single profile. From the same app, you can connect with multiple cameras. The range of the camera depends on the WiFi strength and speed.
That’s everything for now. If you want check my other article on creating a mesh network with two routers.
- Best Wifi Extender for Detached Garage: Boost Your Wifi Signal
- How to Change WiFi Name and Password Kinetic Windstream?💻🔒🔄
- How to Connect Phone to TV Using Bluetooth Without WiFi?
- How to Connect Alexa to Bluetooth Phone without WiFi?
- 8 Proven Ways to Cool Down Your Router for Lightning-Fast Internet: Beat the Heat