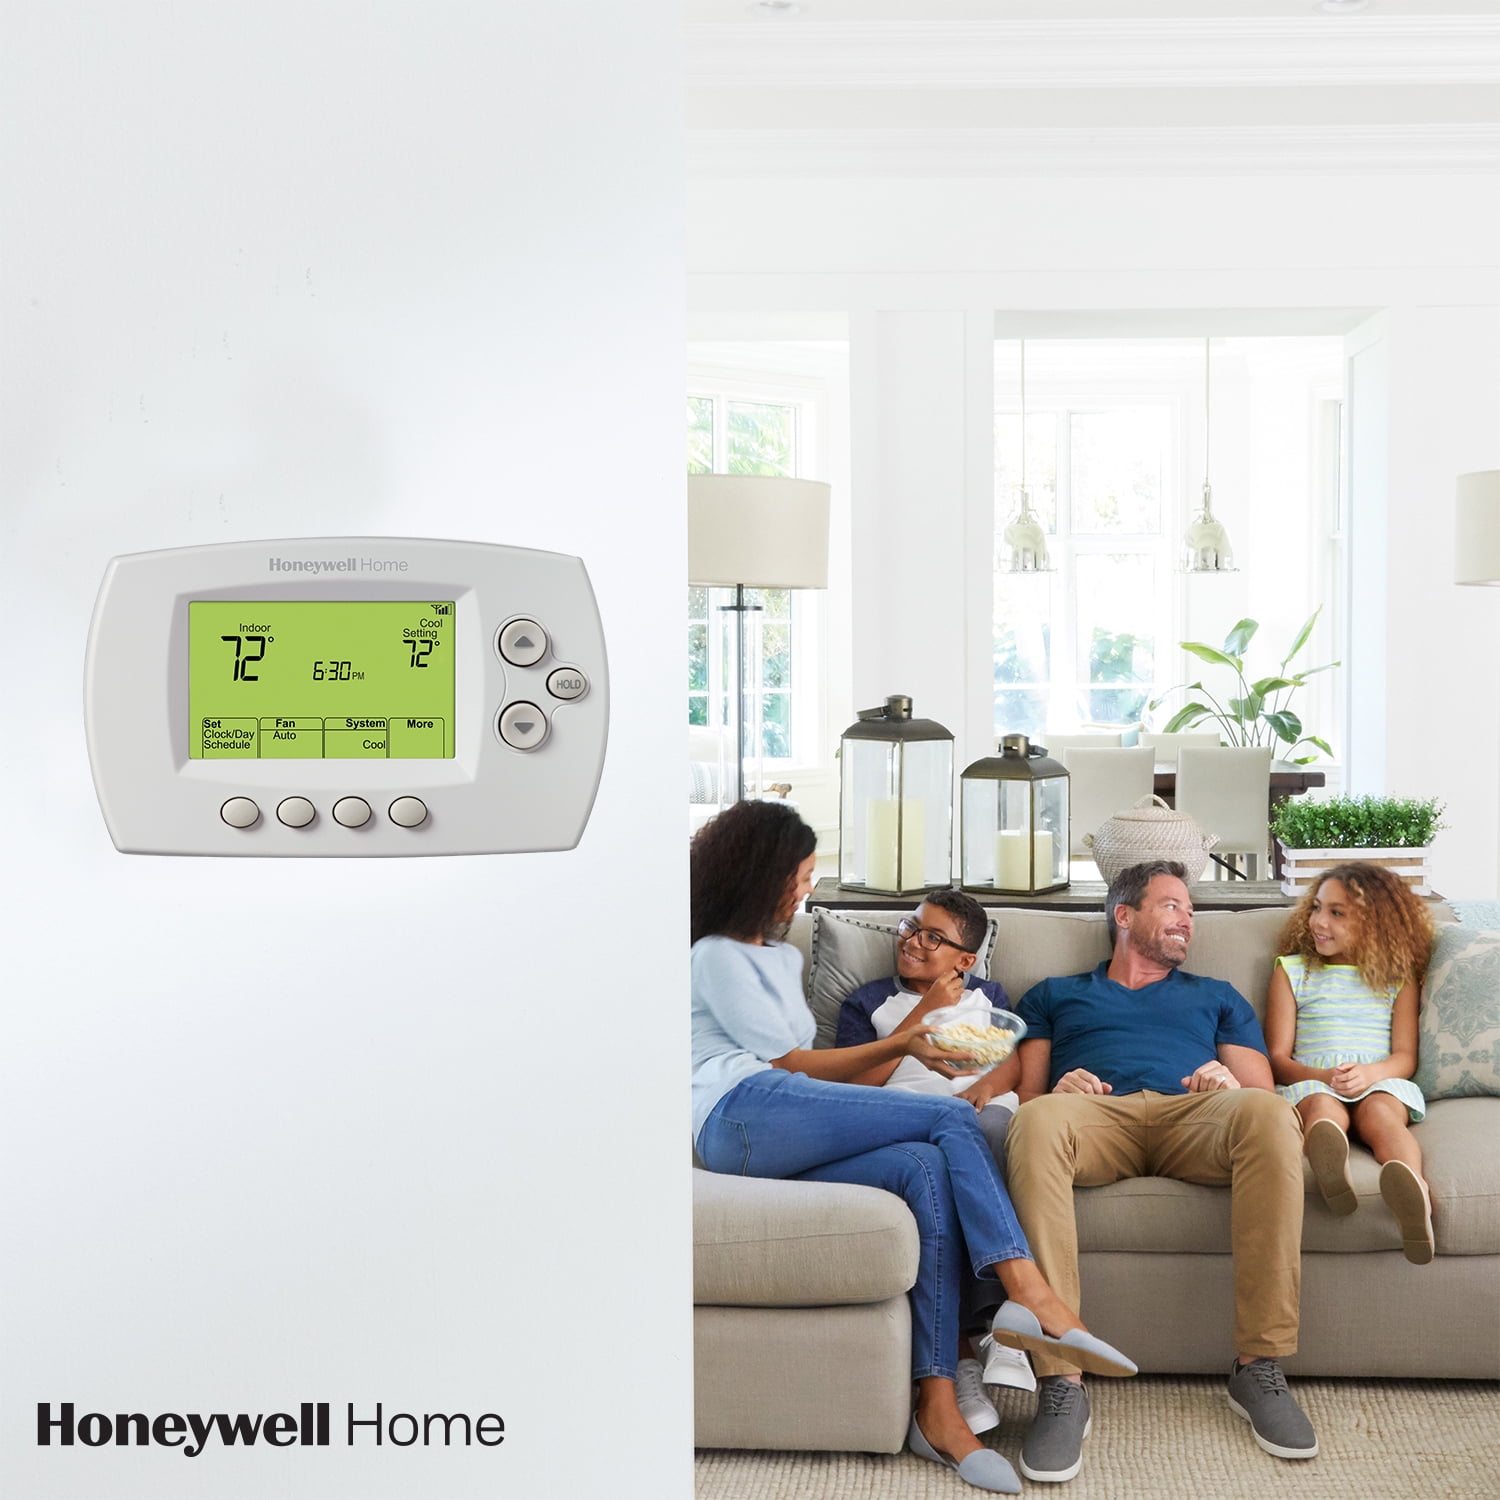
In this digital age, smart homes are quite popular. In a smart house, you can have the feature to control and monitor your home temperature from outside with easy convenience. Honeywell Home Thermostat is such a device that can help you to connect with your WiFi and monitor your home’s temperature.
The question is, how to set up wifi on Honeywell thermostat?
By downloading the Honeywell Home Mobile App and enabling the thermostat, you can connect it to your WiFi. By doing it, you can adjust the temperature from anywhere through your phone, tablet, or PC.
In this article, I’m going to explain all step by step procedures to connect Honeywell Home Thermostat to your WiFi. Therefore, let’s dive in!
How to Connect Honeywell Home Thermostat to WiFi?

Here we go with the all steps that can ensure you get the full capabilities of your thermostat-
Step 1: Gather The Tools
Before starting the connection process, let’s gather all our necessary tools and information-
- Honeywell Home Thermostat
- Honeywell Home mobile app on your smartphone
- WiFi network name (SSID) and password
Step 2: Set Up The Thermostat
Now, from the manufacturer, follow the instructions and install your Honeywell Home thermostat. In the manufacturer, you can find the guide for installing the new thermostat, removing any old one, or guidance about the wiring of the connection. However, before you start the main process of connecting the thermostat with WiFi, make sure that the thermostat properly powered.
Step 3: Boost It Up
Next, once you see that the thermostat is properly powered, connect it to any electrical power such as an external power source or batteries. Then, the thermostat will automatically boot up and be ready for setup mode.
Step 4: Install The Honeywell Home Mobile App
At this point, on your smartphone, download and install the Honeywell Home mobile app. With proper information, sign up and create your account.
Step 5: Set Up The New Thermostat
You will find the “Add New Thermostat” option in the mobile app and select that option. Then, it will ask you some basic queries for example, the model of the thermostat, the location of your house, etc
Step 6: Navigate WiFi In The Thermostat
Now, go to the thermostat(Not the smartphone). Access the settings menu on the thermostat and find the option that enables a WiFi network or helps in connection to a network. When you “Enable” the option, the thermostat will show you “Connection” on display.
Step 7: Access The Thermostat to WiFi
Now, go back to your smartphone, and on the Honeywell Home app, choose the option to connect to the WiFi network. Then, when you click the option, the app will want your network name(SSID) and password. Provide the information and then, the thermostat will look for the available devices for connection. Further, you can see the thermostat in the connection mode. Tap on it to confirm the connection.
Step 8: Test The Connection
After you confirm the connection, the thermostat display will show you a confirmation message saying the connection is complete. In addition, the app will also show that the thermostat is synched with the app and ready to use at any time.
Final Words
So, that’s how you connect your Honeywell Home Thermostat to WiFi. If you are interested you can read an article on – how to create mesh network with two routers
- Best Wifi Extender for Detached Garage: Boost Your Wifi Signal
- How to Change WiFi Name and Password Kinetic Windstream?💻🔒🔄
- How to Connect Phone to TV Using Bluetooth Without WiFi?
- How to Connect Alexa to Bluetooth Phone without WiFi?
- 8 Proven Ways to Cool Down Your Router for Lightning-Fast Internet: Beat the Heat